Think about the last time you cleaned your printer. Be honest. For most people the answer is “never”.
Printers collect dust, paper fibres and stray toner or ink over time. You don’t see it, but the printer does. It shows up as streaks, smudges, jams and odd noises. The good news is that a basic clean takes about ten minutes and needs no special skills. Here’s how to do it safely.
What You’ll Need
You don’t need a toolkit. Gather these:
- A soft, dry, lint-free cloth
- A few cotton swabs
- A sheet of paper or newspaper to protect your desk
- Your printer manual, if you have it
- A torch, for looking inside
Skip the sprays, strong cleaners and wet wipes. Liquids and printers don’t mix.
Before You Start: Safety First
Two rules, every time.
- Switch off the printer and unplug it. Never clean a printer that’s powered on.
- Let it cool. If you’ve just been printing, wait about ten minutes. Laser printers have a part called the fuser that gets very hot.
Put your paper sheet down. Cleaning can shake loose a little dust or toner, and it’s easier to deal with if it lands on paper.
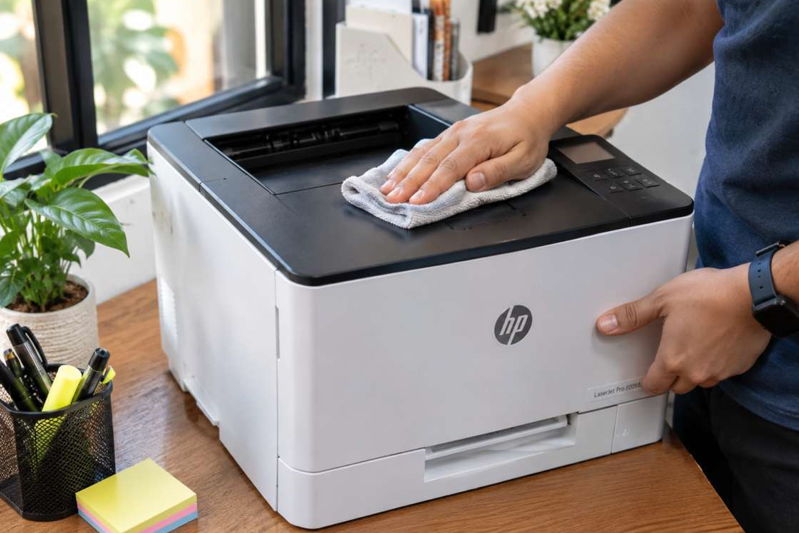
Step 1: Wipe the Outside
Start with the easy part. Wipe the top, sides and front with a dry, lint-free cloth. Pay attention to the control panel and the areas around the trays, where dust gathers. If there’s a stubborn mark, you can slightly dampen the cloth with water, but never let moisture seep into any openings.
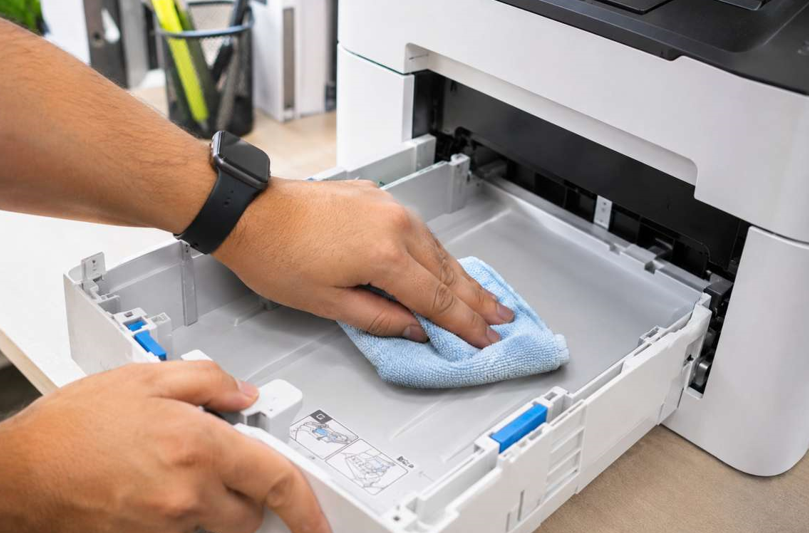
Step 2: Clean the Paper Trays
Take out the paper trays. Remove the paper and shake out any crumbs or scraps. Wipe the inside with your cloth. Check for small torn pieces of paper, since even a tiny scrap can cause the next jam. Put everything back, using fresh, dry paper.
Step 3: Clean the Paper Path
Open the covers and look inside with your torch. You’ll see where the paper travels. Gently wipe away any dust or paper fibres you can reach with a dry cloth or a clean cotton swab.
Be careful. Don’t push or bend any parts, and don’t poke into spots you can’t see. If something looks fragile, leave it alone.
Step 4: Clean the Rollers (Carefully)
Rollers are the rubber wheels that pull paper through. When they get dusty or shiny, paper starts slipping and jamming. Many manuals say you can wipe them gently with a lint-free cloth, lightly dampened with water. Others suggest a specific cleaner. Check your manual for your model, let them dry completely and don’t scrub hard.
Step 5: Look After the Cartridge Area
This applies to laser printers. Take out the toner cartridge and wipe away any loose toner in the cartridge bay with a dry cloth. Hold the cartridge by its handle, and never touch the drum surface with your fingers. Skin oils leave marks on your prints.
While you’re there, check the cartridge for cracks or leaks. If it looks worn, it may be time to replace it. A reliable toner cartridge supplier that lists your exact model makes sure you get the right one. Check the toner number first, since the wrong cartridge causes errors.
Step 6: Use the Printer’s Built-In Cleaning
Most printers have a cleaning function in the settings menu. Inkjet printers have a head cleaning and nozzle check option. Many laser models have a cleaning page or drum cleaning option. Run it once, then print a test page. Don’t repeat it over and over. Inkjet cleaning uses ink, and extra cycles rarely help if the first one didn’t.
Step 7: Reassemble and Test
Put the cartridge back until it clicks. Close every cover fully. Plug in the printer, switch it on and print a test page. Look for lines, smudges or faded areas. If it looks clean, you’re done.
What to Avoid
Cleaning goes wrong more often from doing too much than too little. Don’t:
- Use water, sprays or wet wipes inside the printer
- Use compressed air blindly, since it can push dust deeper or scatter toner
- Touch the drum, the fuser or any electrical contacts
- Force parts open or bend them
- Clean while the printer is plugged in
- Use a household vacuum on toner, since toner powder is very fine and can damage a normal vacuum
If you spill toner, wipe it up with a dry cloth. Don’t use water, because it makes a mess.
How Often Should You Clean?
You don’t need to do all this every week. A simple schedule works:
- Weekly: Wipe the outside with a dry cloth.
- Monthly: Wipe the trays and visible paper path.
- Every few months: Do the full clean above.
- If problems appear: Clean sooner.
When Cleaning Isn’t Enough
Sometimes you clean everything and the problem stays. Streaks that return, jams that keep happening or strange noises usually mean a worn part. Rollers lose their grip. Drums wear out. Fusers age. Cleaning can’t bring those back.
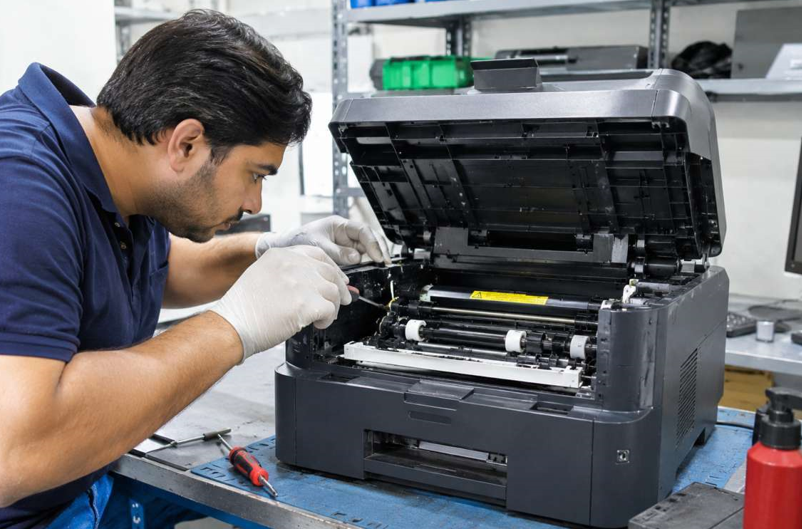
That’s when professional printer repair makes sense. A technician can test the machine, find the worn part and replace it, often for much less than buying a new printer. Ask for a clear quote first.
Mistakes to Avoid
- Skipping the unplug step
- Cleaning a hot printer
- Using too much liquid
- Running the cleaning cycle repeatedly
- Ignoring a leaking cartridge
- Opening the printer without training
When Should You Get Extra Help?
Ask a technician if:
- Marks or streaks stay after cleaning and fresh supplies
- You hear grinding or clicking
- You smell something burning
- The printer shuts down or shows errors that won’t clear
Please don’t take the printer apart yourself. Parts inside can get very hot, and small pieces break easily.
Final Thoughts
A basic clean is one of the cheapest ways to keep a printer healthy. Switch it off, let it cool, wipe gently and keep liquids out. Check the trays, the paper path and the cartridge area, then run the built-in cleaning. Do it every few months and you’ll see fewer jams and cleaner pages. And if problems stay after a good clean, get the printer checked rather than guessing.